Mounting Wall Stand-Offs
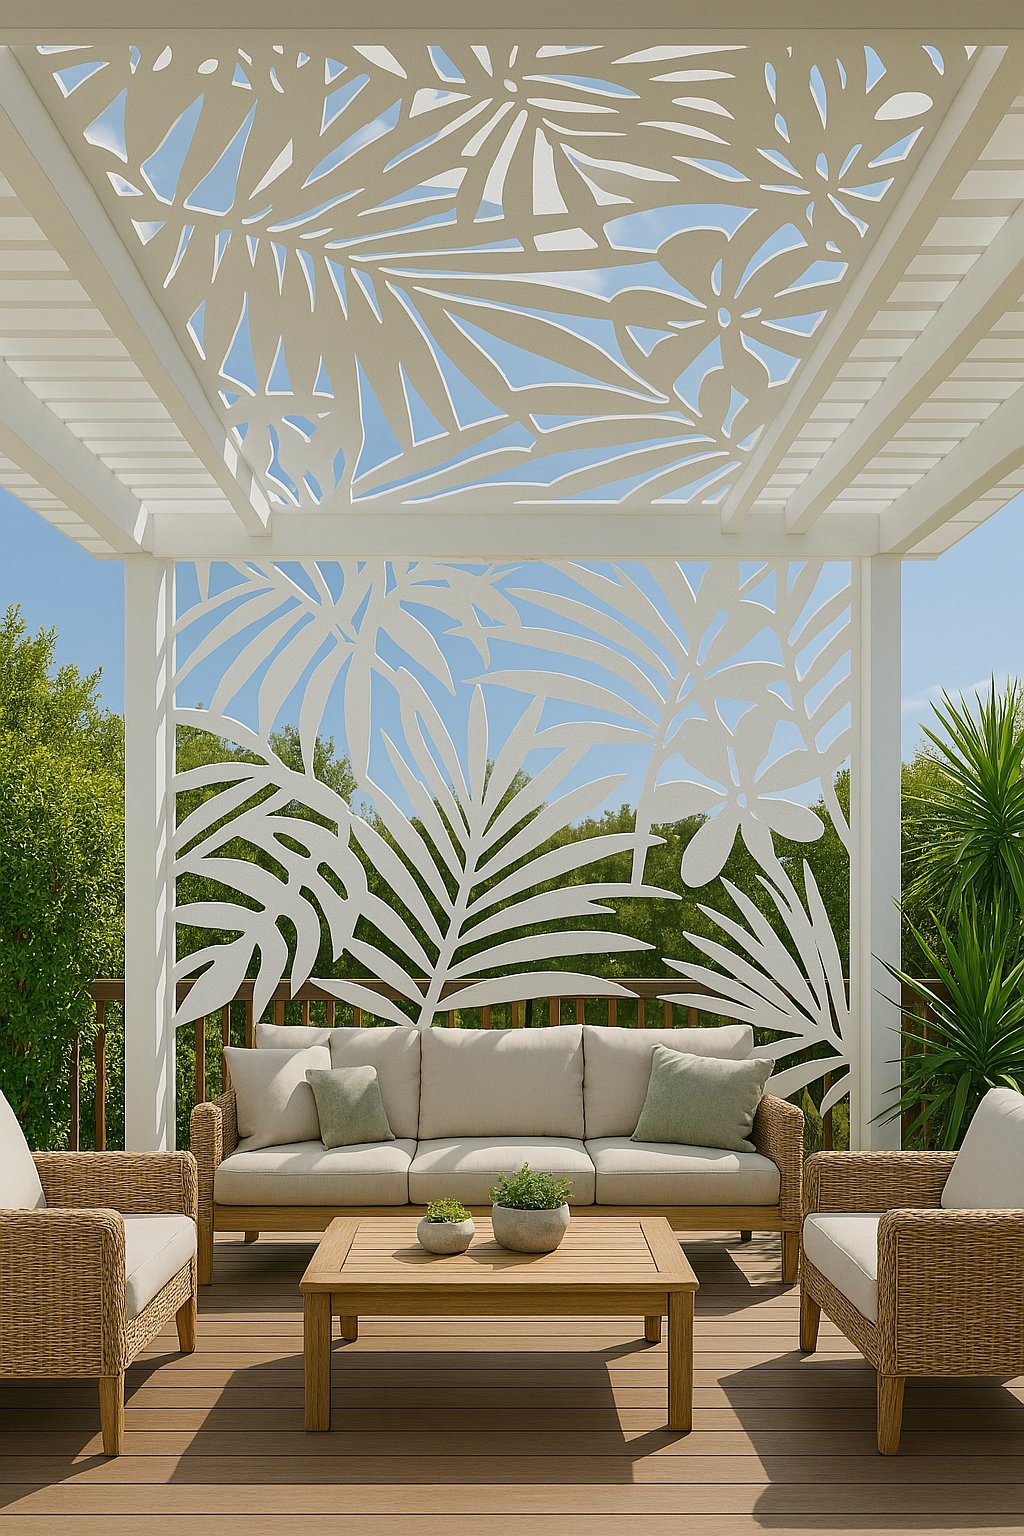
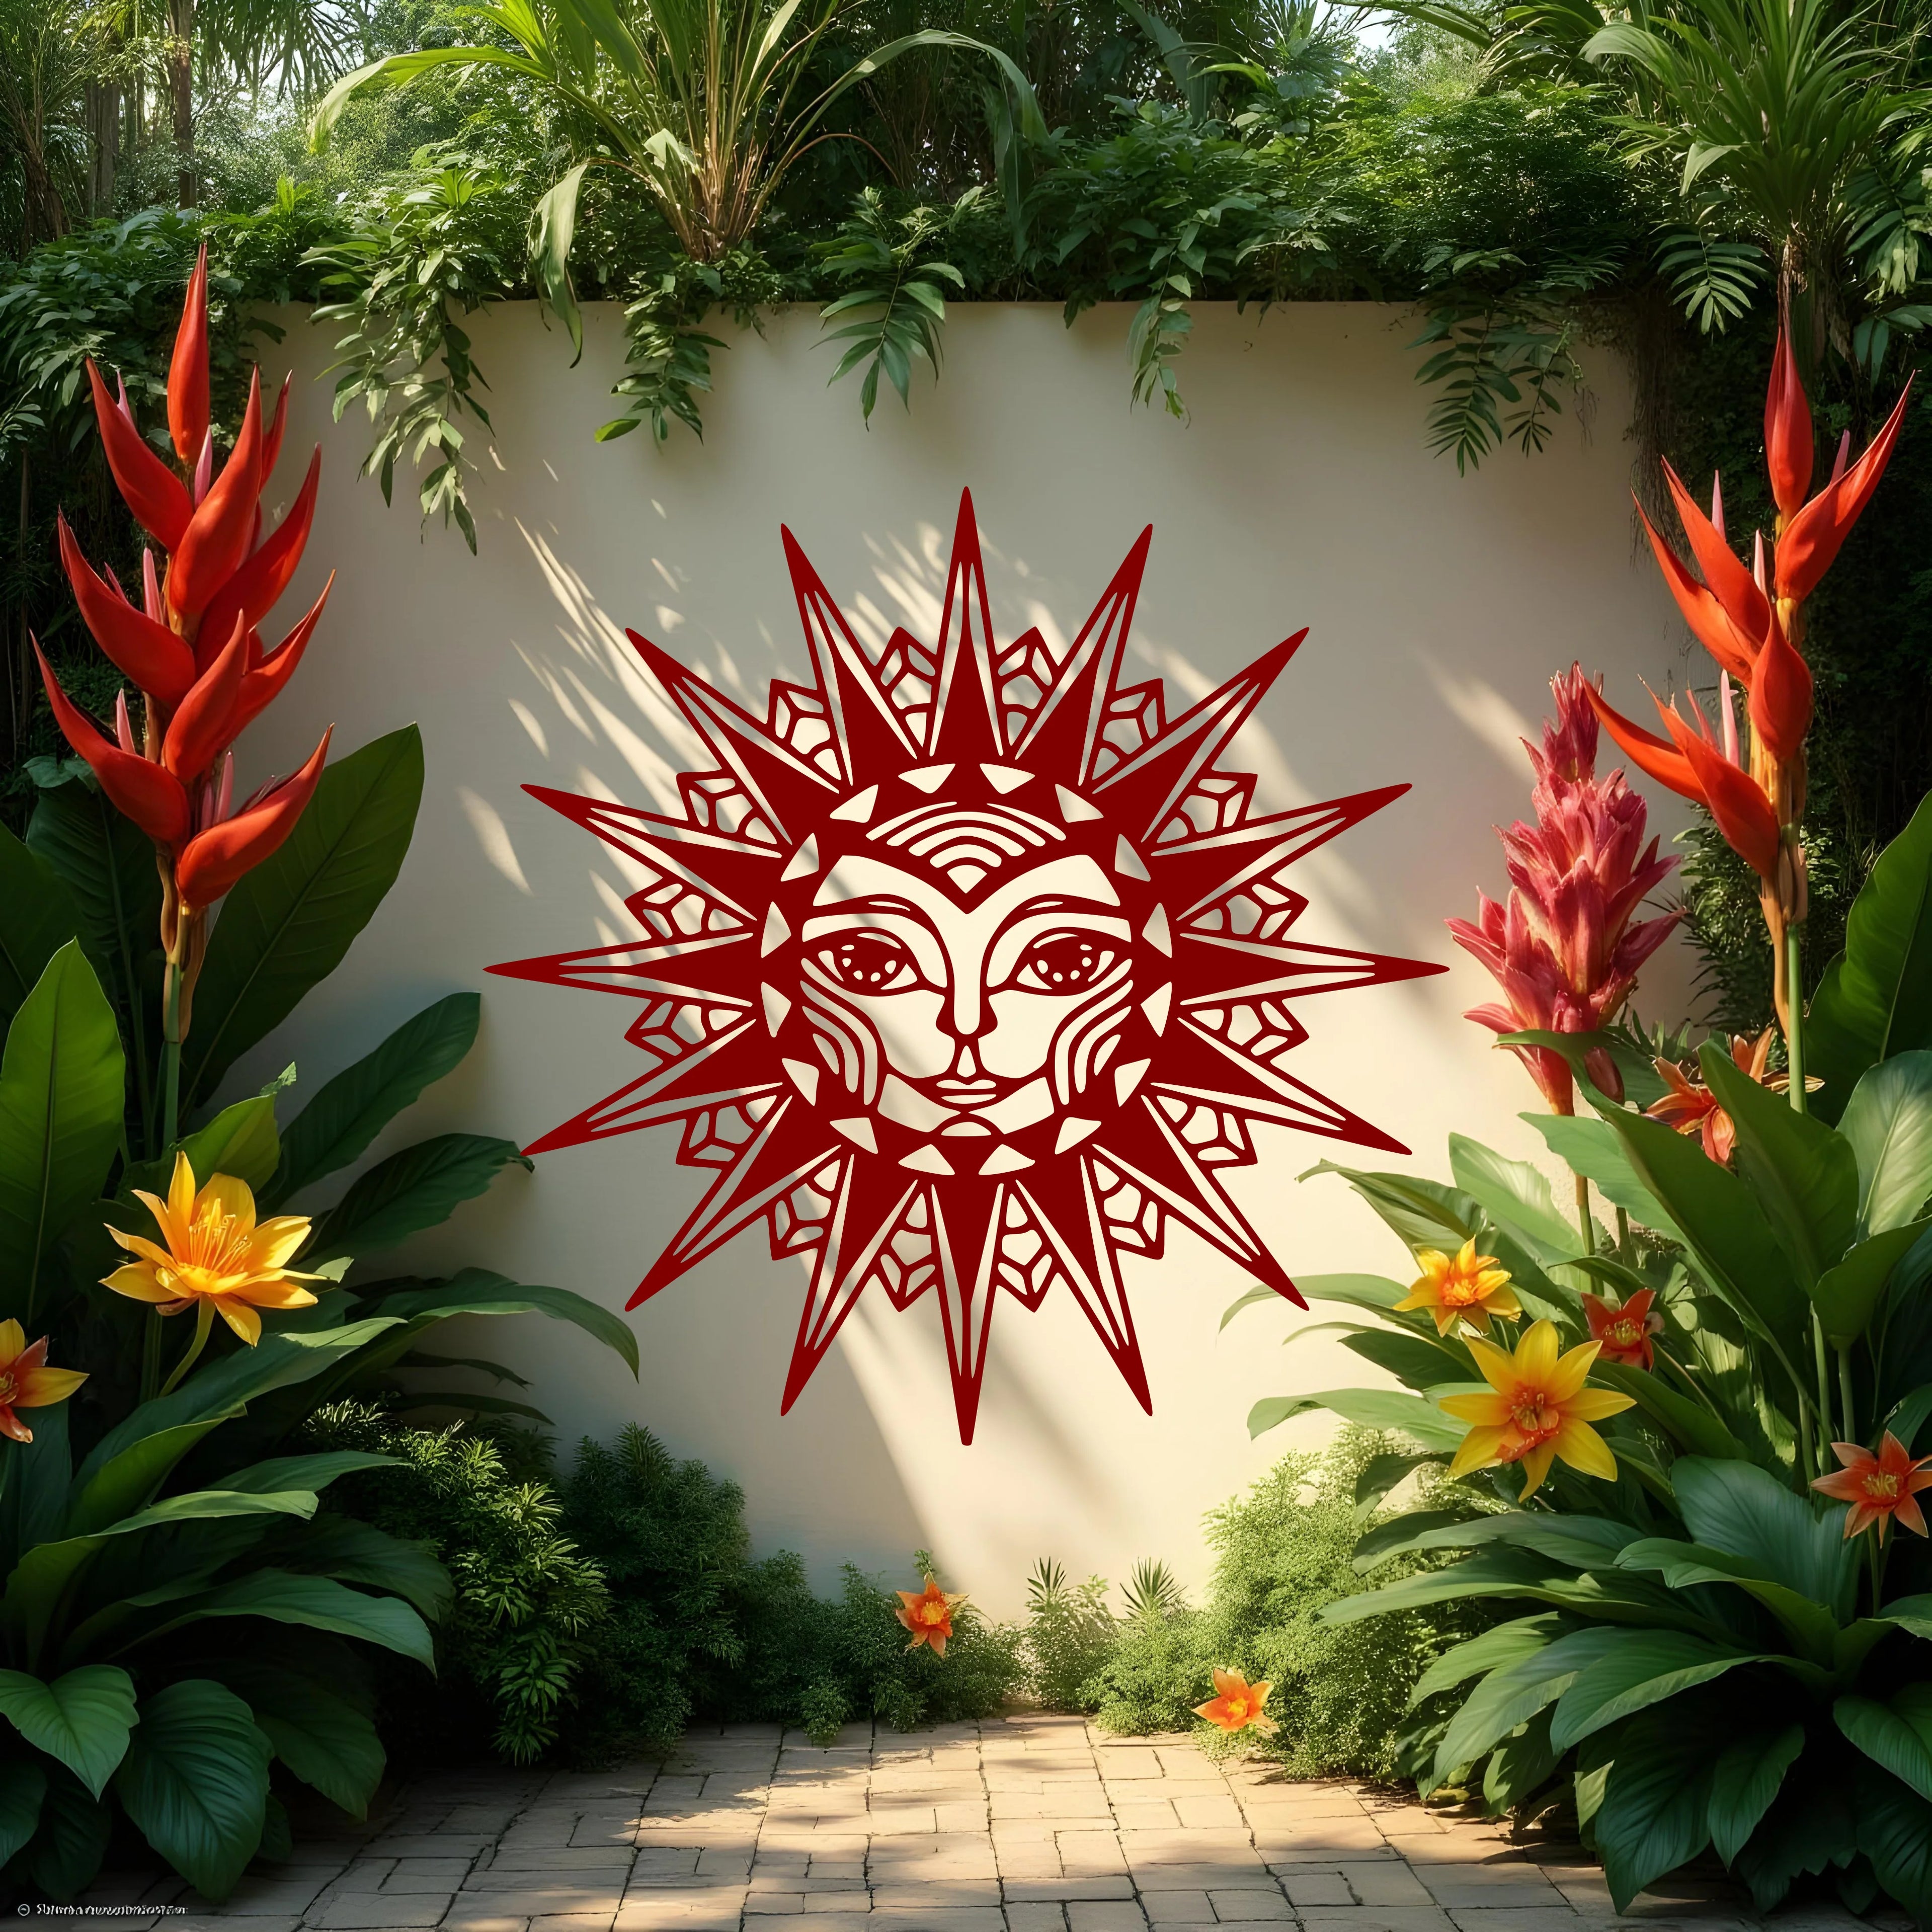
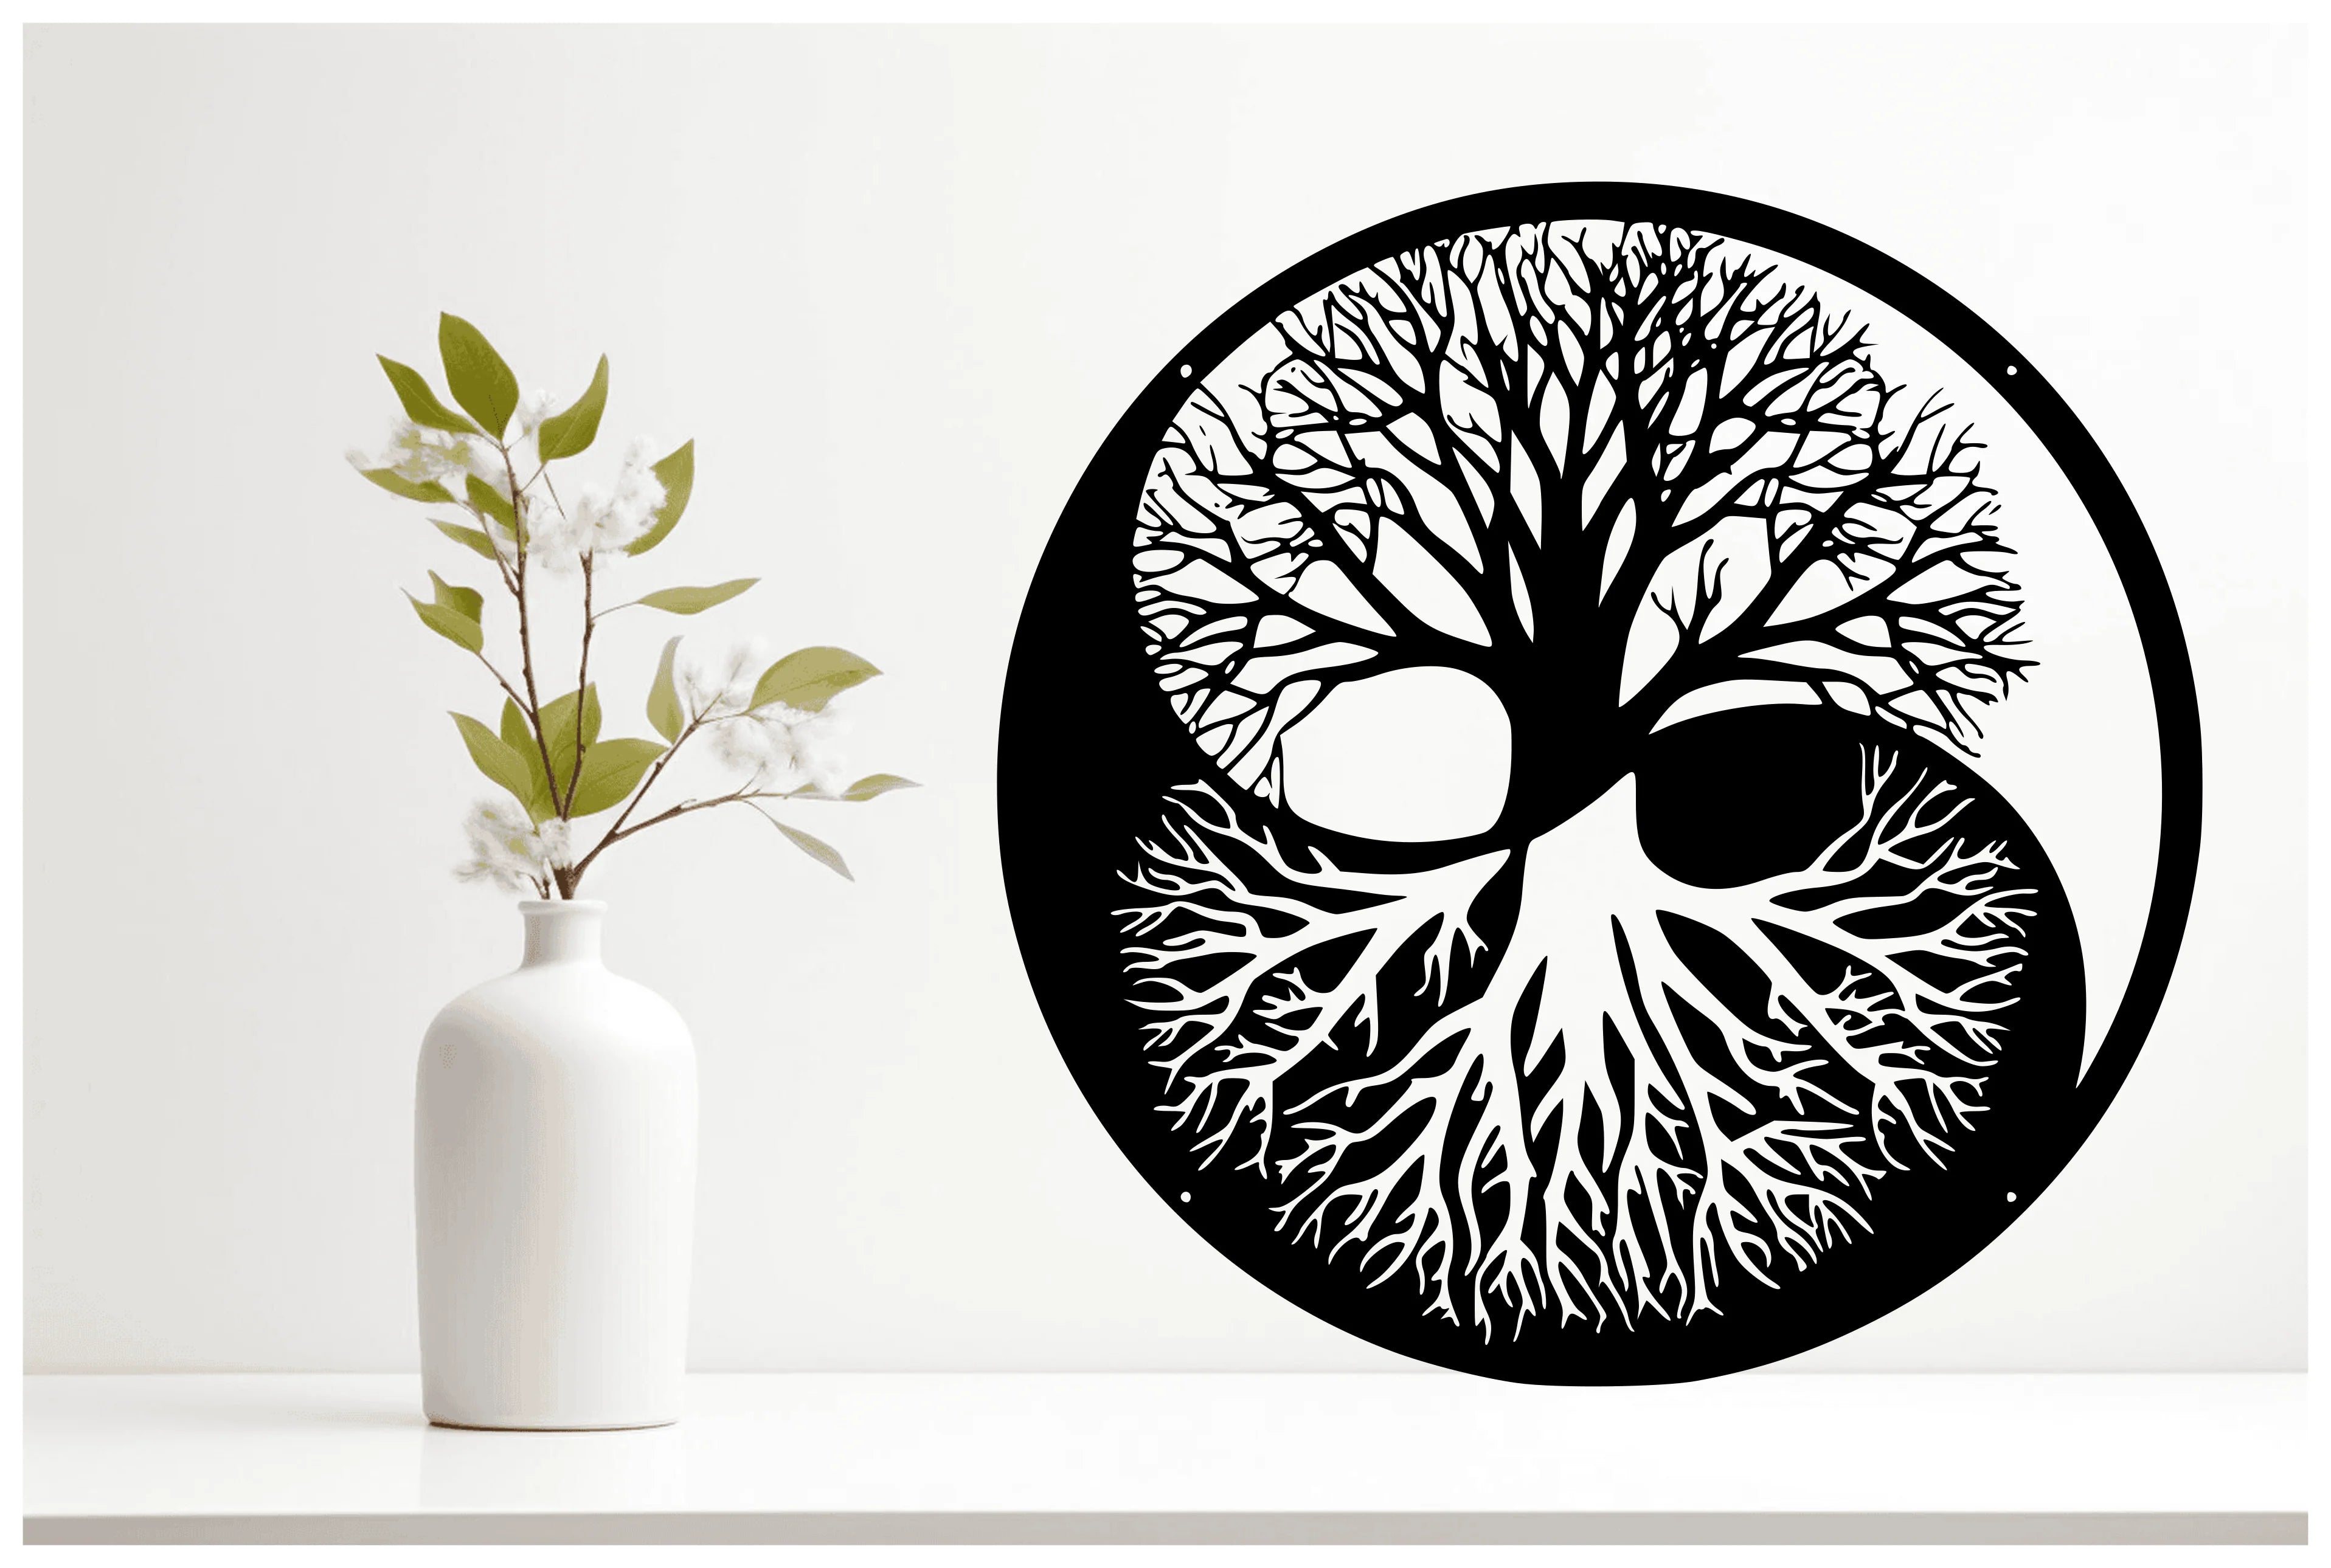
Wall stand-offs are a stylish and professional way to install your Pro Cut Laser wall art or smaller privacy screens. They lift the panel 25mm off the wall, creating a floating, shadow-cast effect that gives your piece depth and elegance. Made from durable metal, these stand-offs not only enhance the visual appeal but also provide strong, secure mounting.
This method works best for:
-
Interior walls (gyprock, timber, masonry)
-
Exterior brick walls (with appropriate anchors)
-
Decorative panels under 1200mm x 1200mm
-
Signage, branding plates, and lightweight privacy screens
What’s Included in a 25mm Stand-Off Kit
-
4x Metal Barrels (25mm projection)
-
4x Decorative Caps
-
4x Screws
-
4x Wall Anchors
-
8x Rubber Gaskets (to protect the panel from scratching)
How to Install (Step-by-Step)
🔧 Tools You’ll Need
- Drill & appropriate bit for your wall type
- Phillips-head screwdriver
- Spirit level or ruler
- Pencil
Step 1: Mark Your Holes
Hold your panel in place and mark through the mounting holes directly onto the wall. Make sure it’s level and spaced as you like.
Step 2: Drill Wall Anchor Holes
Using a drill bit suited to your wall type (masonry, timber, or plaster), drill holes at the marked points. Insert the wall anchors firmly.
Step 3: Attach the Barrels
Screw the metal barrels into the wall anchors using the provided screws. These will hold the panel 25mm off the wall surface.
Step 4: Prepare the Panel
Slide one rubber gasket onto each side of the panel’s hole (front and back). This protects the finish and ensures a snug, vibration-free fit.
Step 5: Attach the Panel
Align the panel holes with the barrels and screw in the decorative caps through the holes. Hand-tighten them until firm.
That’s it!
Your wall art or screen is now floating 25mm off the wall with a clean, professional look.