Support
Support
Need help choosing, installing, or maintaining your Pro Cut Laser products? You're in the right place. Below you'll find helpful resources and guides to make the most of your purchase.
Mounting Guide
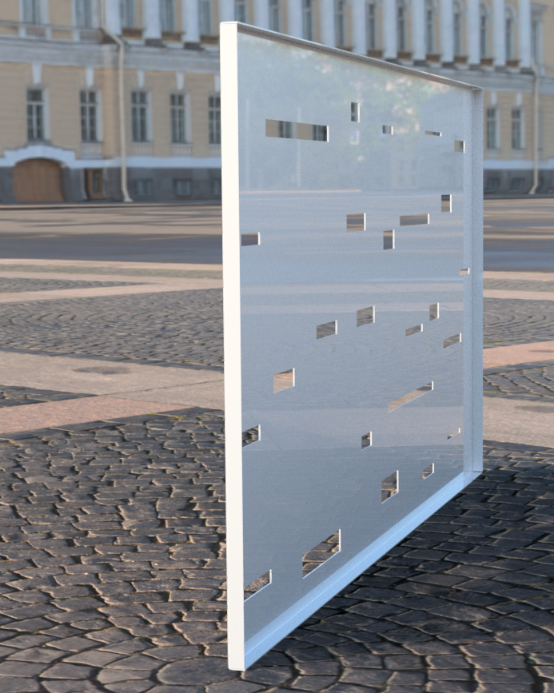
Not sure which framing or folding method suits your privacy screen? Our Mounting Guide breaks down all the options with images and clear explanations.
Shipping & Delivery
Learn about our flat-rate delivery fees, estimated turnaround times, and what to expect once your order is dispatched.
View Shipping Information
Installation Advice
Need tips on how to install your screen securely? From freestanding frames to wall-mounted panels, we've got you covered.
[Coming Soon]
Frequently Asked Questions (FAQ)
Quick answers to the most common questions we get about screen sizes, custom orders, materials, and more.
Read FAQs
Still need help?
If you're stuck or want to speak to us directly, we’re here to help.
Email us at info@procutlaser.au
Or call 1800 84 88 74
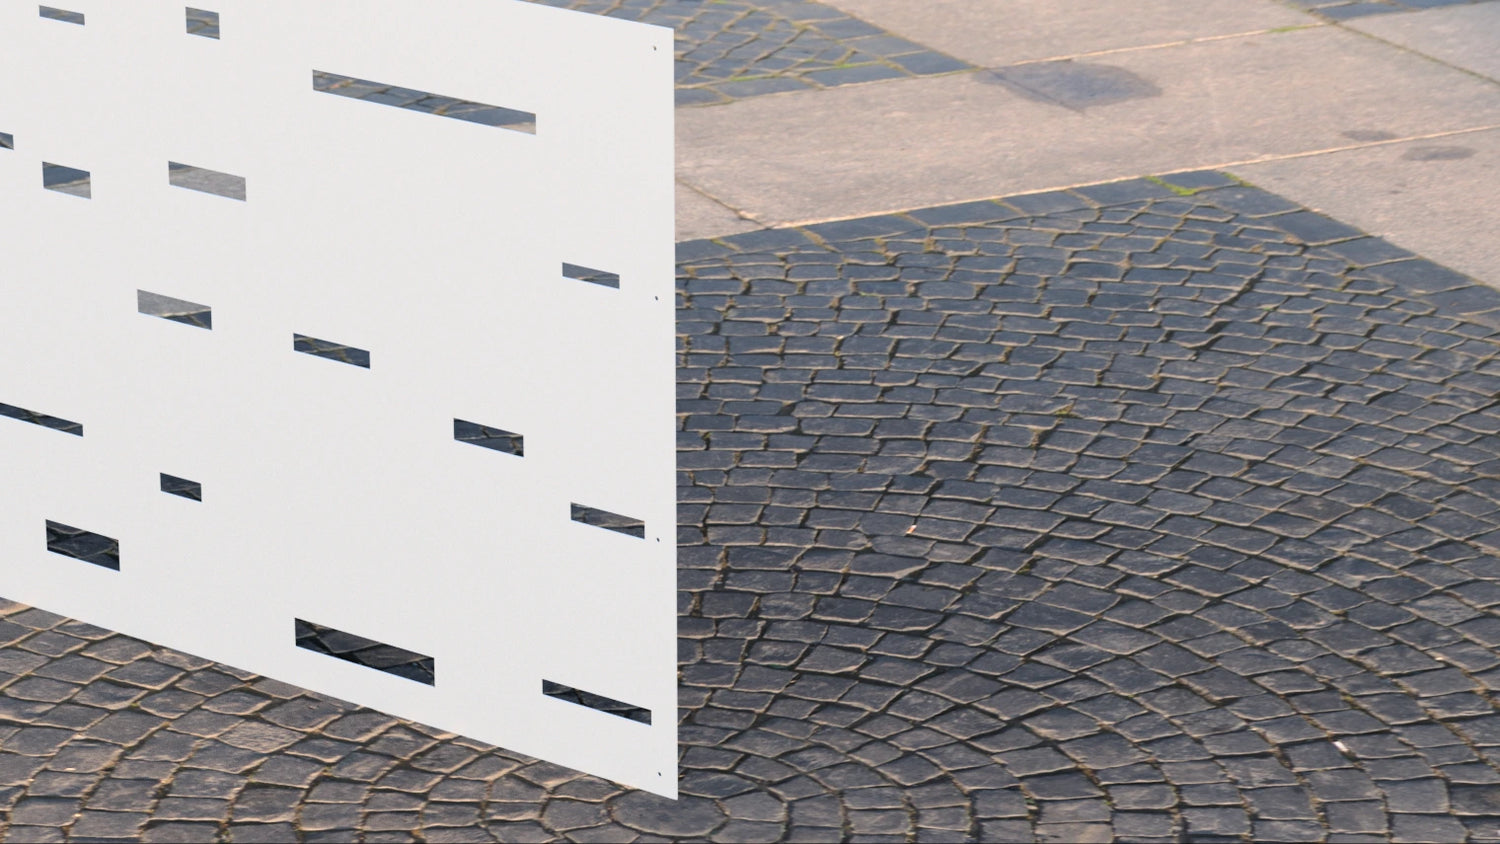
Simple Holes
Simple Mounting Holes
Our most straightforward and flexible option. We laser-cut evenly spaced holes along the edge of the screen, typically in the corners — or wherever the client requests. This method is ideal for simple installs such as fixing directly onto timber fences, metal posts, brick walls, or pergola beams. It’s a clean, no-fuss solution that works great when framing isn’t required and you want a flush, low-profile finish.
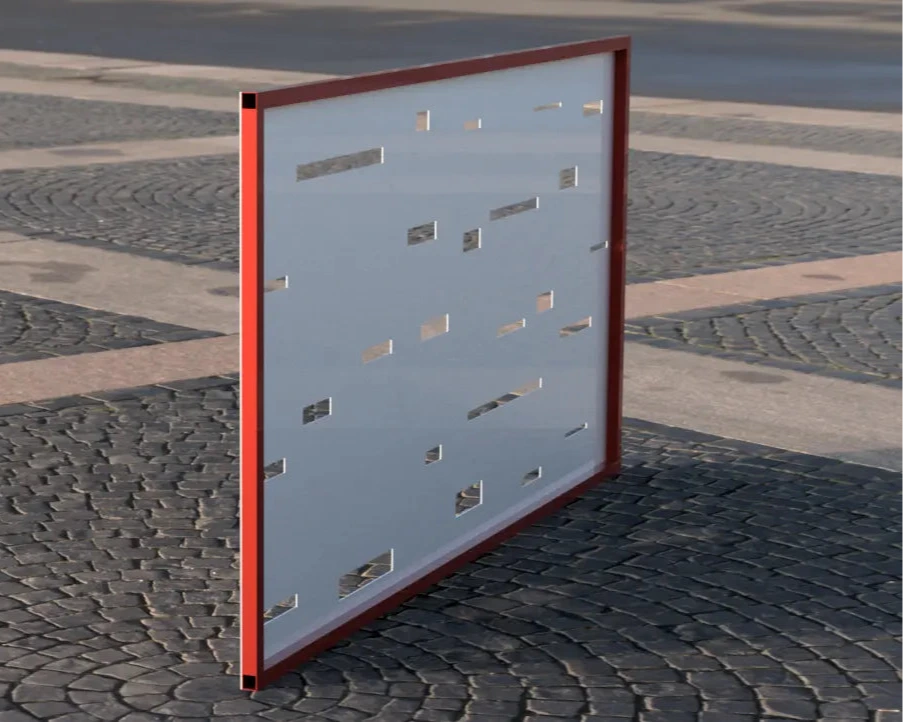
Framed
Fully Framed
A complete 4-sided frame made from 20mm SHS (square hollow section) steel encloses the screen, providing maximum rigidity and strength.
This is your most robust and versatile mounting option, great for hanging, freestanding installations, bolting to walls, or sliding into custom posts.
The frame adds visual weight and presence to the design, making it ideal for high-end applications, permanent structures, or architectural use.
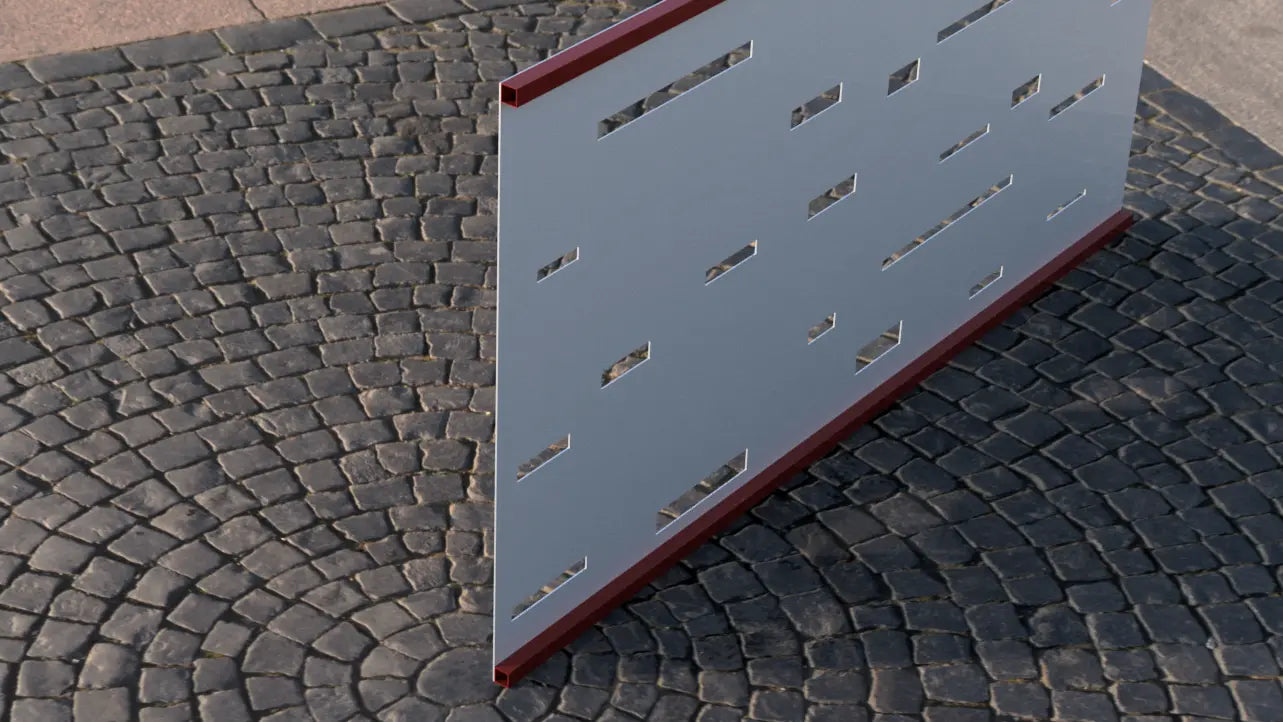
Framed
Top and Bottom Frame
This method uses 20mm SHS (square Hollow Section) steel bars welded to the top and bottom edges of the screen. It provides horizontal stiffness and looks sleek while leaving the sides exposed.
Ideal for fitting between fixed side structures, such as brick walls, side posts, or recessed mounts.
This style keeps the focus on the screen pattern while giving it structural integrity and a clean floating appearance.
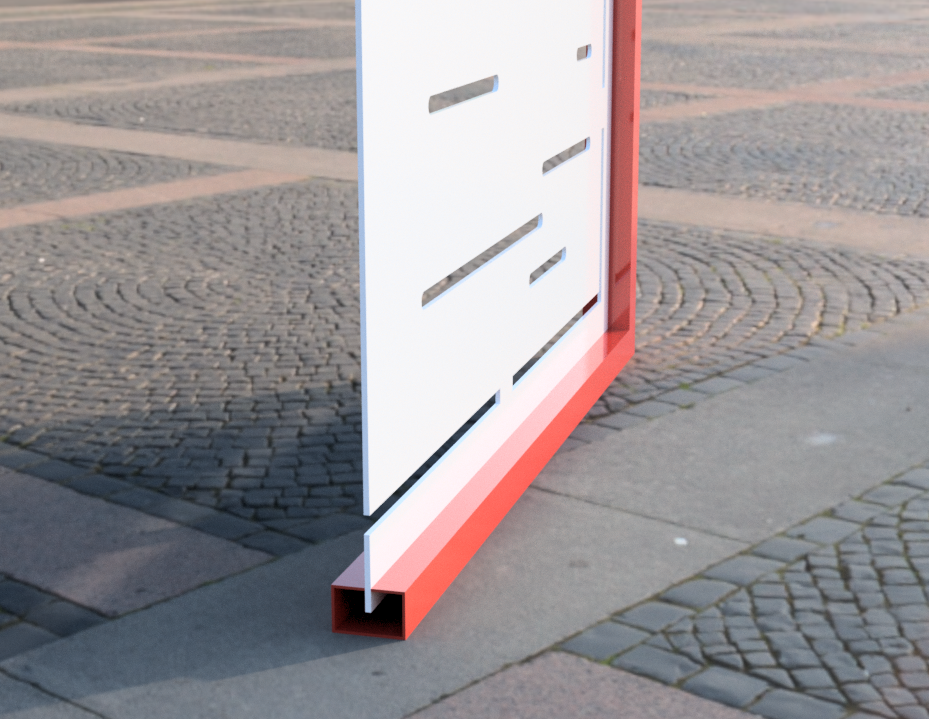
Framed
Center Welded Mounting Frame
The panel is slotted into a 38x25mm RHS (Rectangular Hollow Section) and welded down its vertical center-line.
This method is commonly used for securely fixing screens between vertical posts, especially when multiple panels are being installed in a straight or stepped line.
The galvanised steel RHS adds durability and stiffness while keeping the visual profile slim and modern.
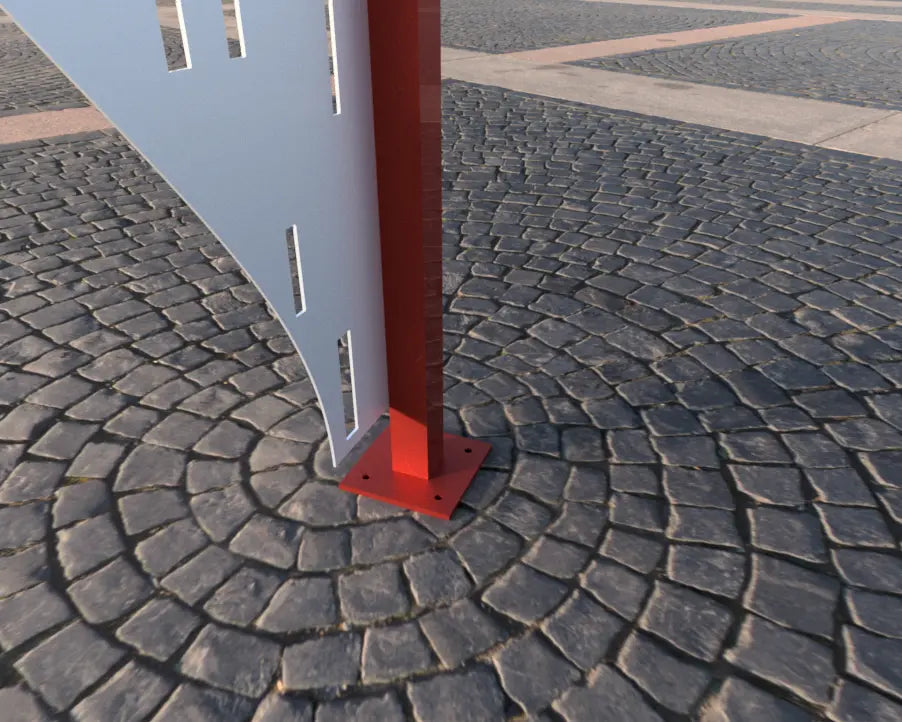
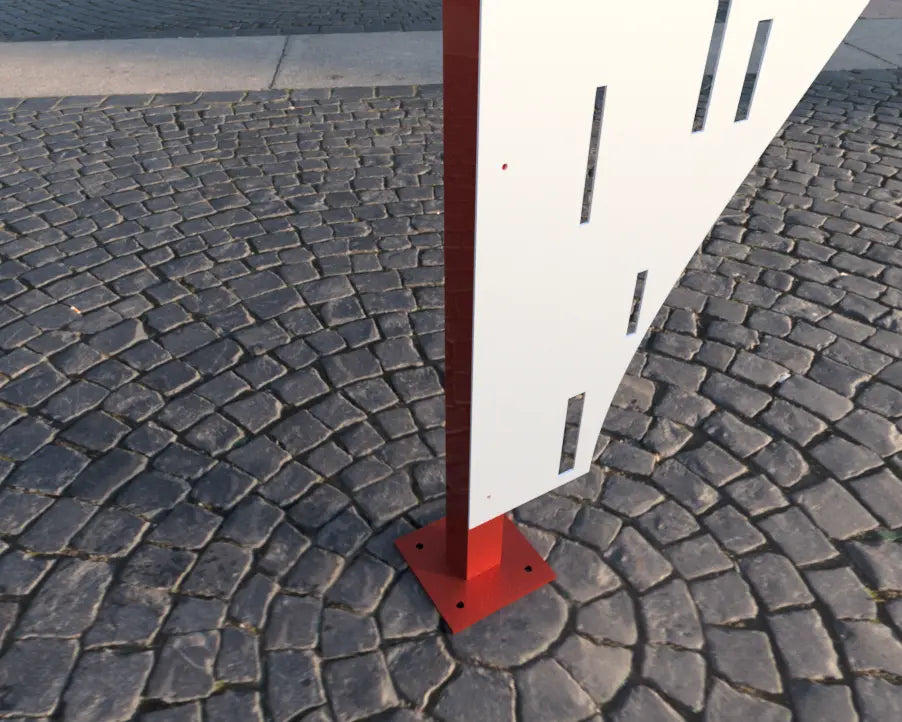
Post
Post with Base Plate
This setup uses a heavy-duty post welded to a square base plate that can be either:
- Bolted into existing concrete with anchor bolts, or
- Set into a hole and concreted into the ground for a more permanent fixture.
Ideal for freestanding garden screens, feature panels, or staggered privacy walls, especially where there's no structure to mount to. It’s a solid solution that looks clean and professional outdoors.
Folds
Side Folds Only
We fold the left and right vertical edges of the screen backwards to form a strong return lip.
This adds vertical rigidity to the panel without needing a full frame. It’s ideal for fixing to upright posts or beams — especially where you want a flush or hidden fixing from behind.
Commonly used in narrow passageways, garden bed edging, or along side fences where width is limited but strength is needed.
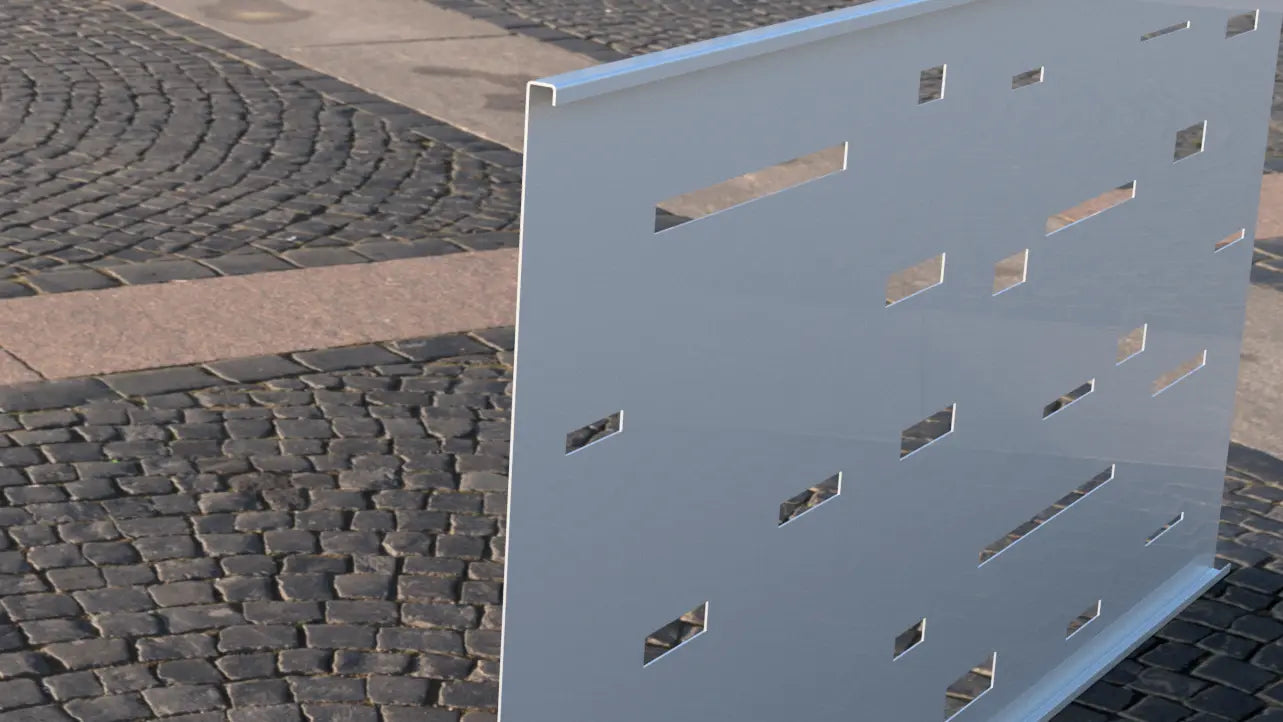
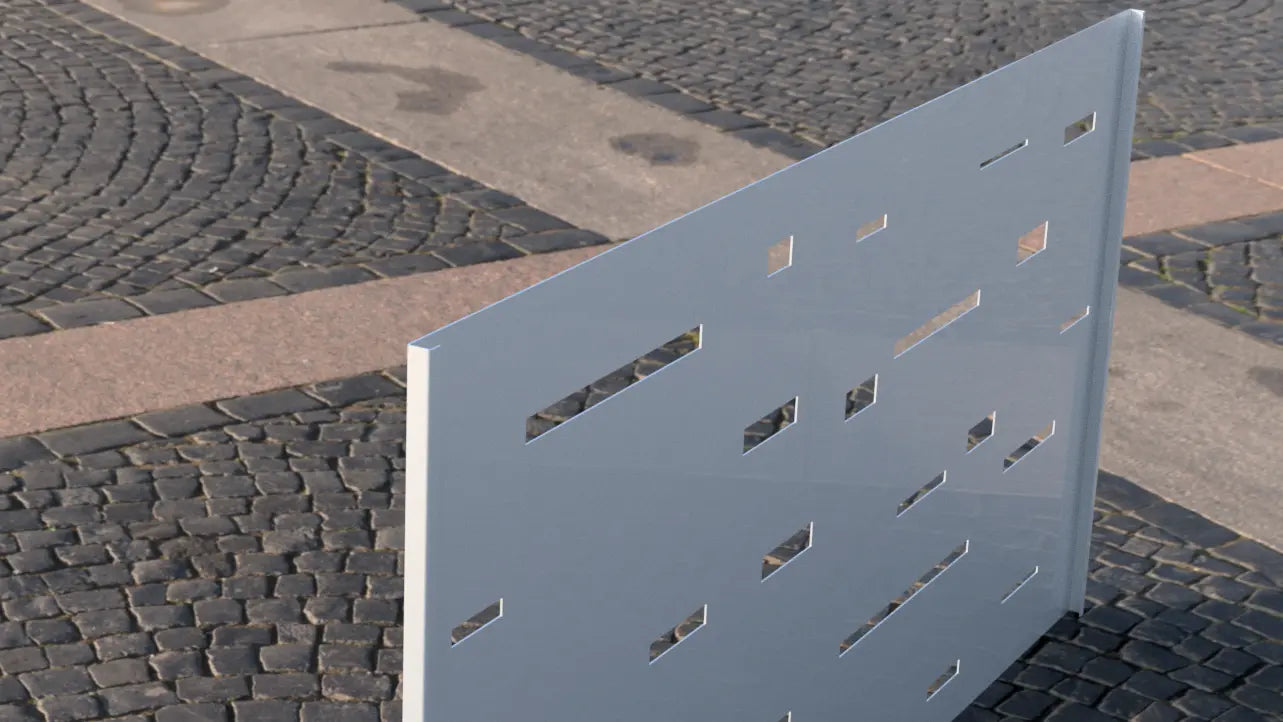
Folds
Top and Bottom Fold
In this method, we fold the top and bottom edges backward, giving the screen increased horizontal stiffness.
This works well for wall mounting, sliding installations, or when visibility of vertical edges matters — for example, when screens are mounted side-by-side in a long row.
It adds strength but keeps the sides clean and flat for aesthetic or space reasons.
Folds
Folded All Around
We fold all four edges backward to create a boxed border effect — giving the panel strength on all sides while offering a smooth, finished look.
A great option for freestanding installations, wall-mounting, or bolting onto flat frames. This method keeps everything tidy and adds depth, especially useful for decorative indoor use or when the rear will be visible.